With a lift out scheduled for early Monday morning, we arrived to a slip on Sunday and made preparations… Knowing that as soon as they lifted us they’d be removing the rudder, we made sure the cockpit locker and garage lockers were empty, giving access to all the rudder’s mechanicals and then made our way to an Airbnb where we would be staying while Toodle-oo! was on the hard.
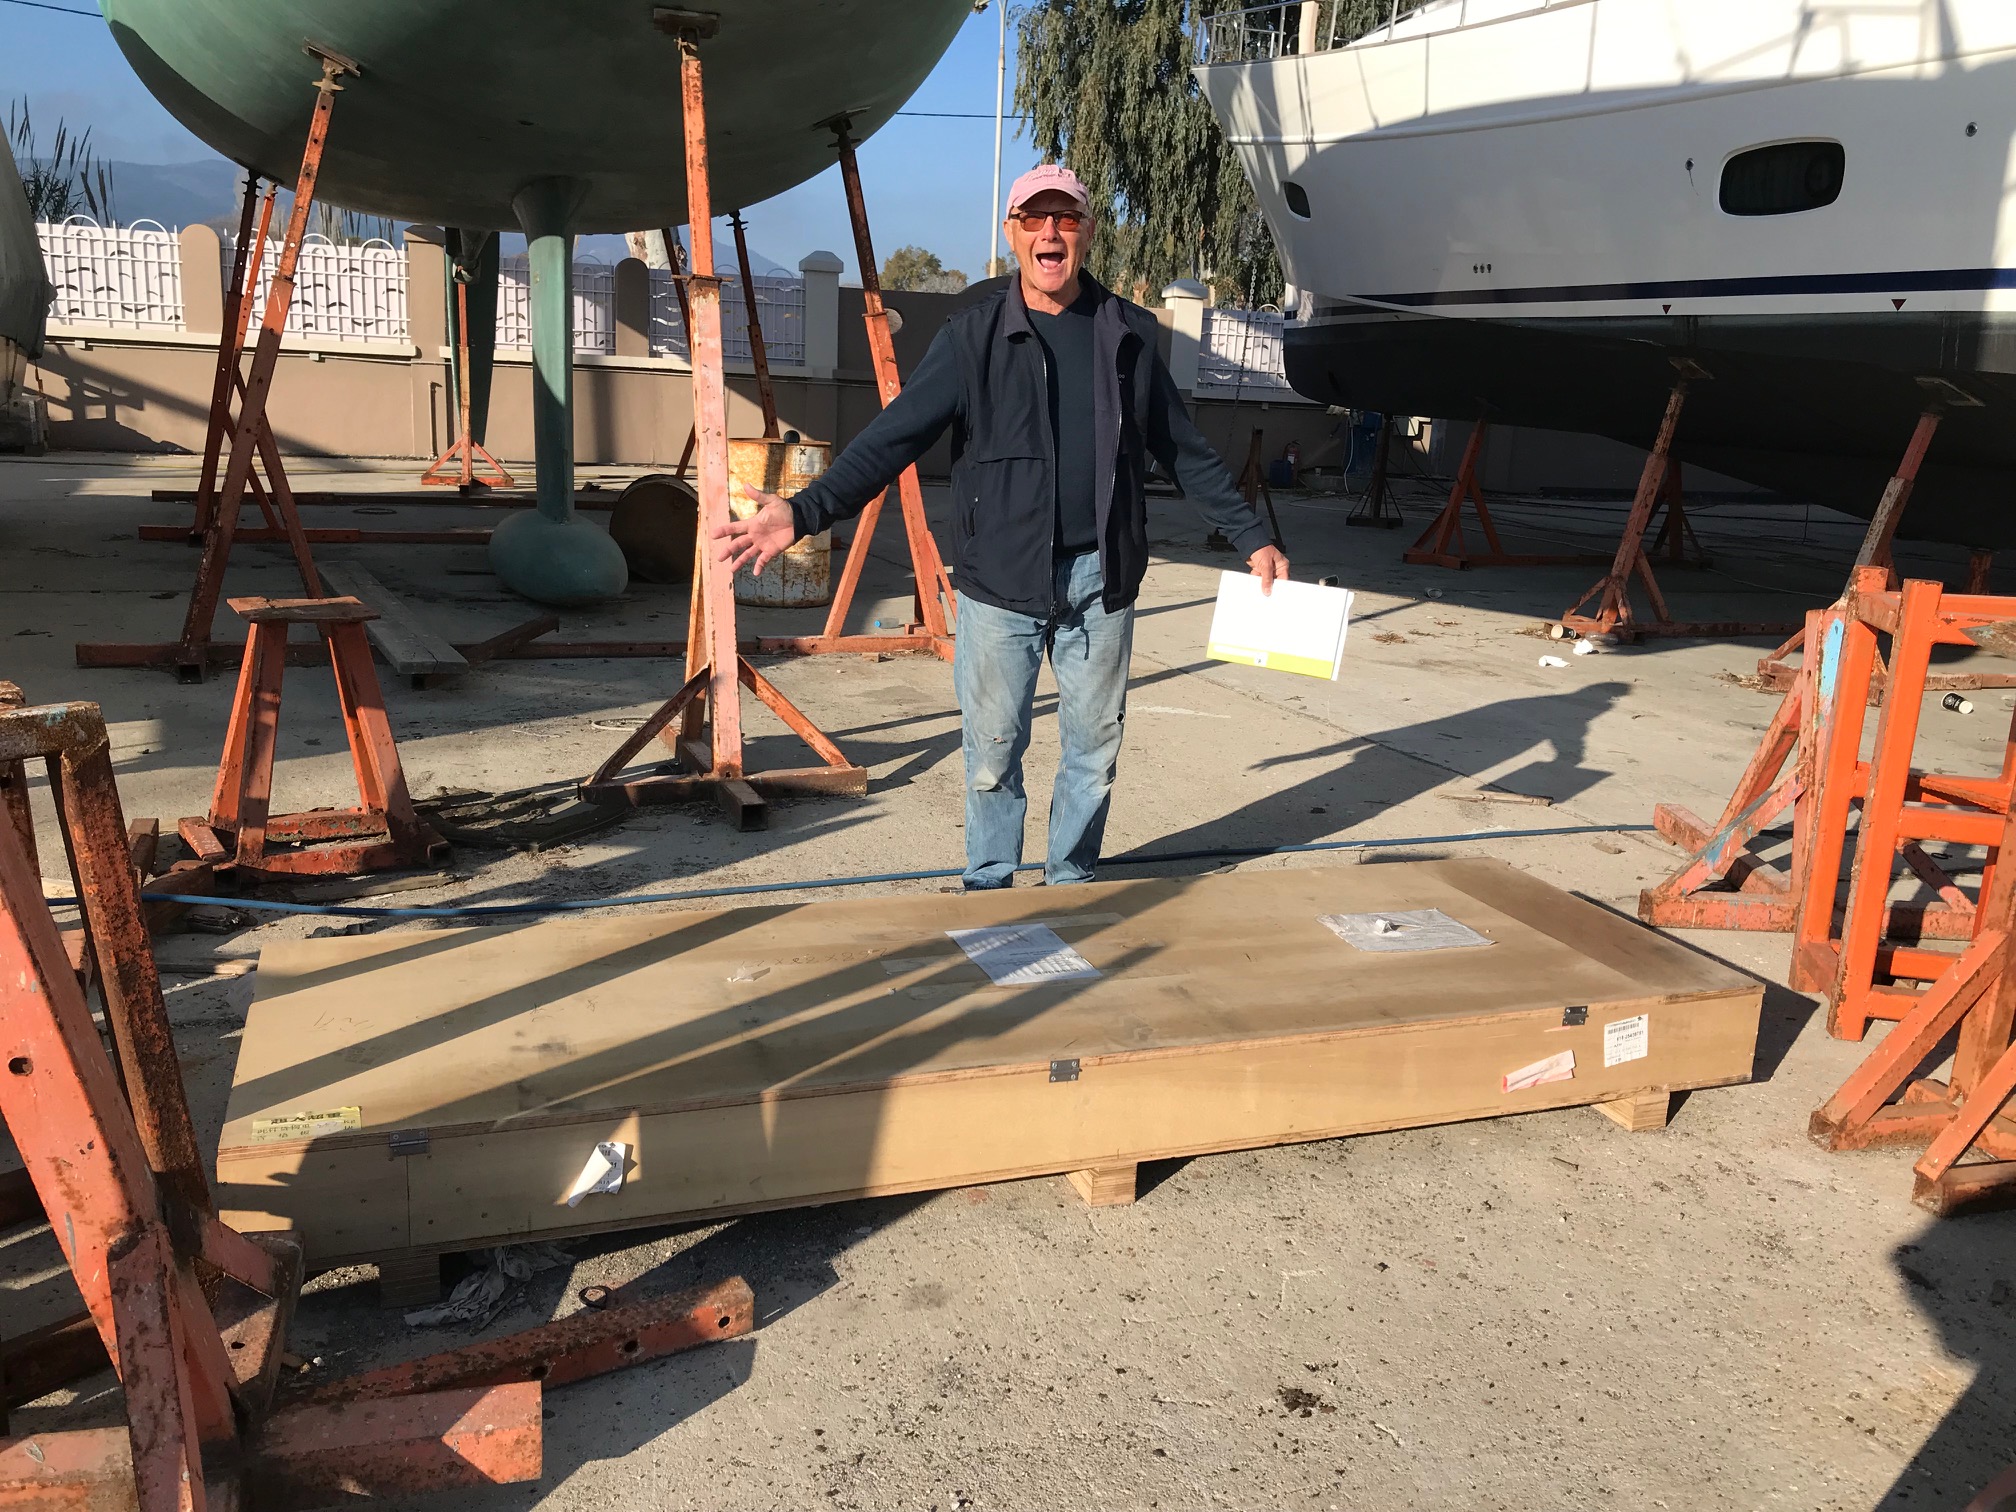
On Monday morning we met with ‘yard manager’ Spiros who would be orchestrating our repairs. I also got to see our new rudder – it really had arrived!
Lift-out was at 09:00 (ish) and they took us directly to our designated short term parking spot. By the time we’d arrived at our spot I had most of the internal rudder mechanisms removed, just waiting on the final bolts to be removed.
Heavy! The shipped rudder weight was 240kgs – of which 200 must have been the rudder. It took 5 men to manhandle it out of the boat and lower it to the ground. Now the fun begins!
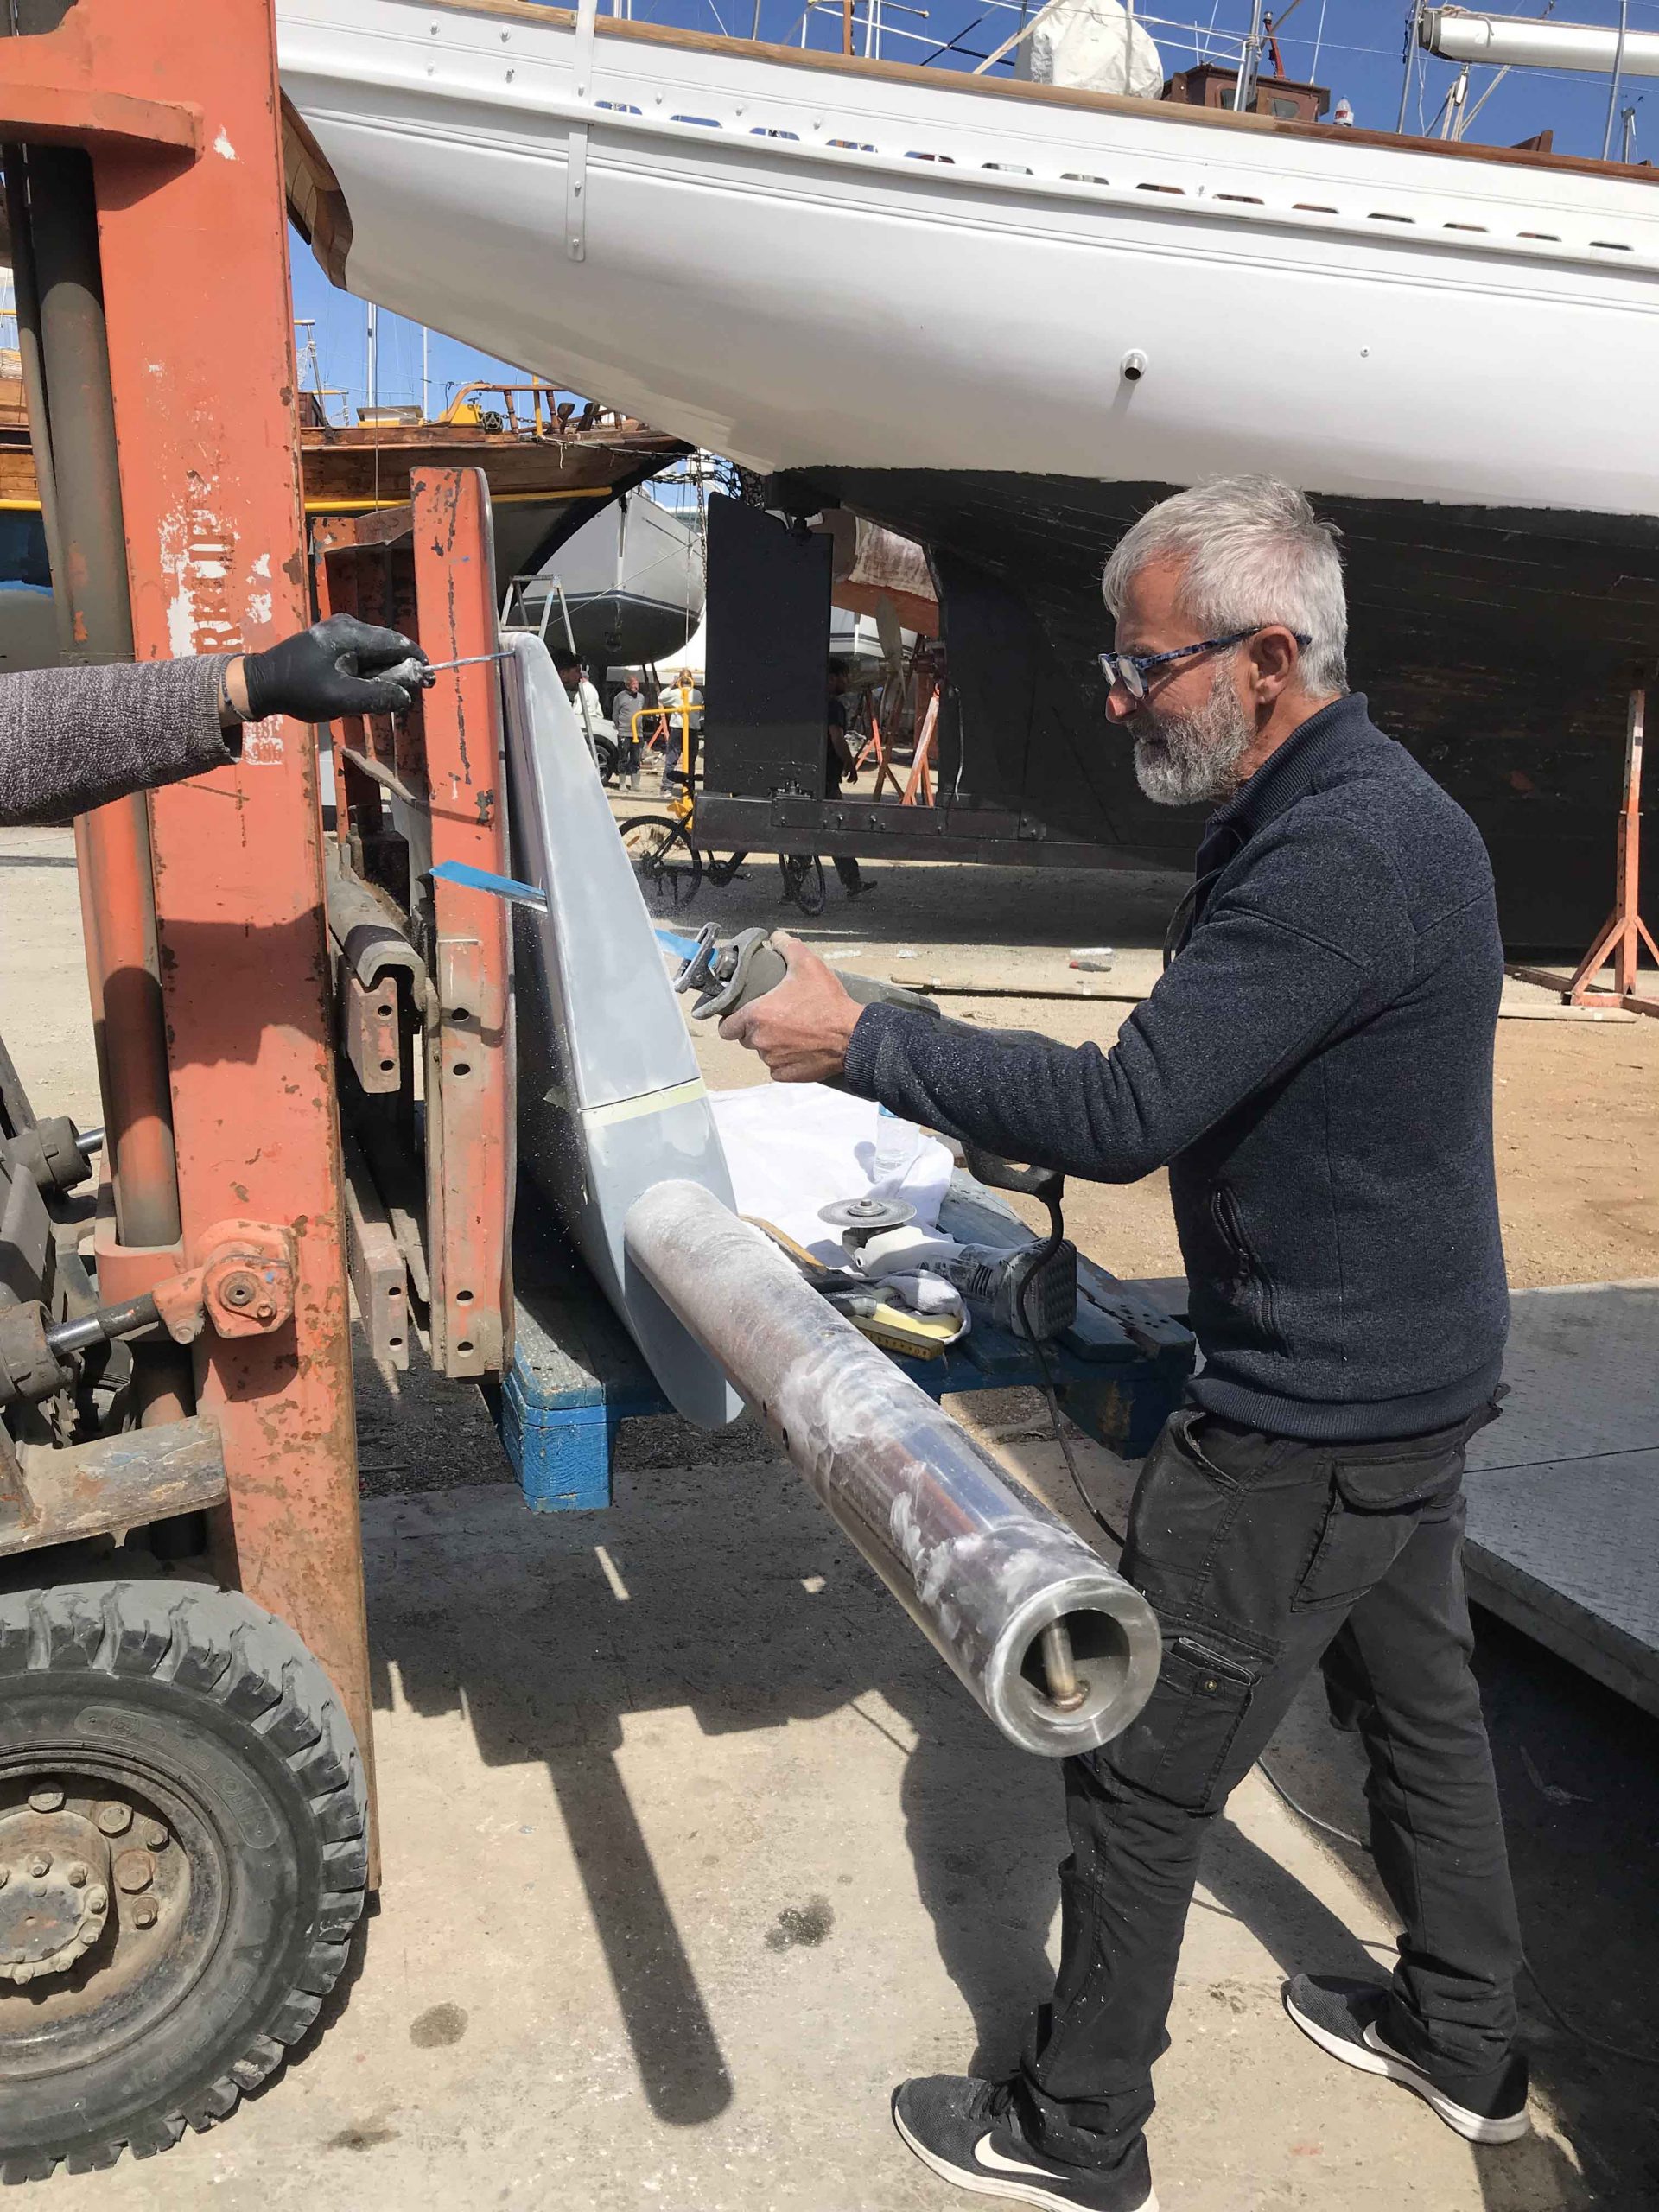
First thing in the afternoon we transferred both new and old rudders to Kos Marina’s friendly workshop where the old one would be measured and holes accurately drilled (at the right angle!) into the new one to ensure a good fit aboard Toodle-oo! Due to the size of the rudder the workshop manager decided that he’d have to do the work outside and bring the drilling machine to the rudder – this would take a couple of days.
The new rudder came with new bearings. The old bottom one had come out with the rudder, but the top one was still in place, held by four large cap screws. Even though every other nut and bolt in the rudder system had been easy to remove, of these four only one would budge! After a frustratingly long time, I managed to get two more to come, but the fourth broke! I had to drill it out in order to free the bearing. Once out I was able to drill and tap another hole for a replacement fourth cap screw. We were now ready for when the rudder returned.
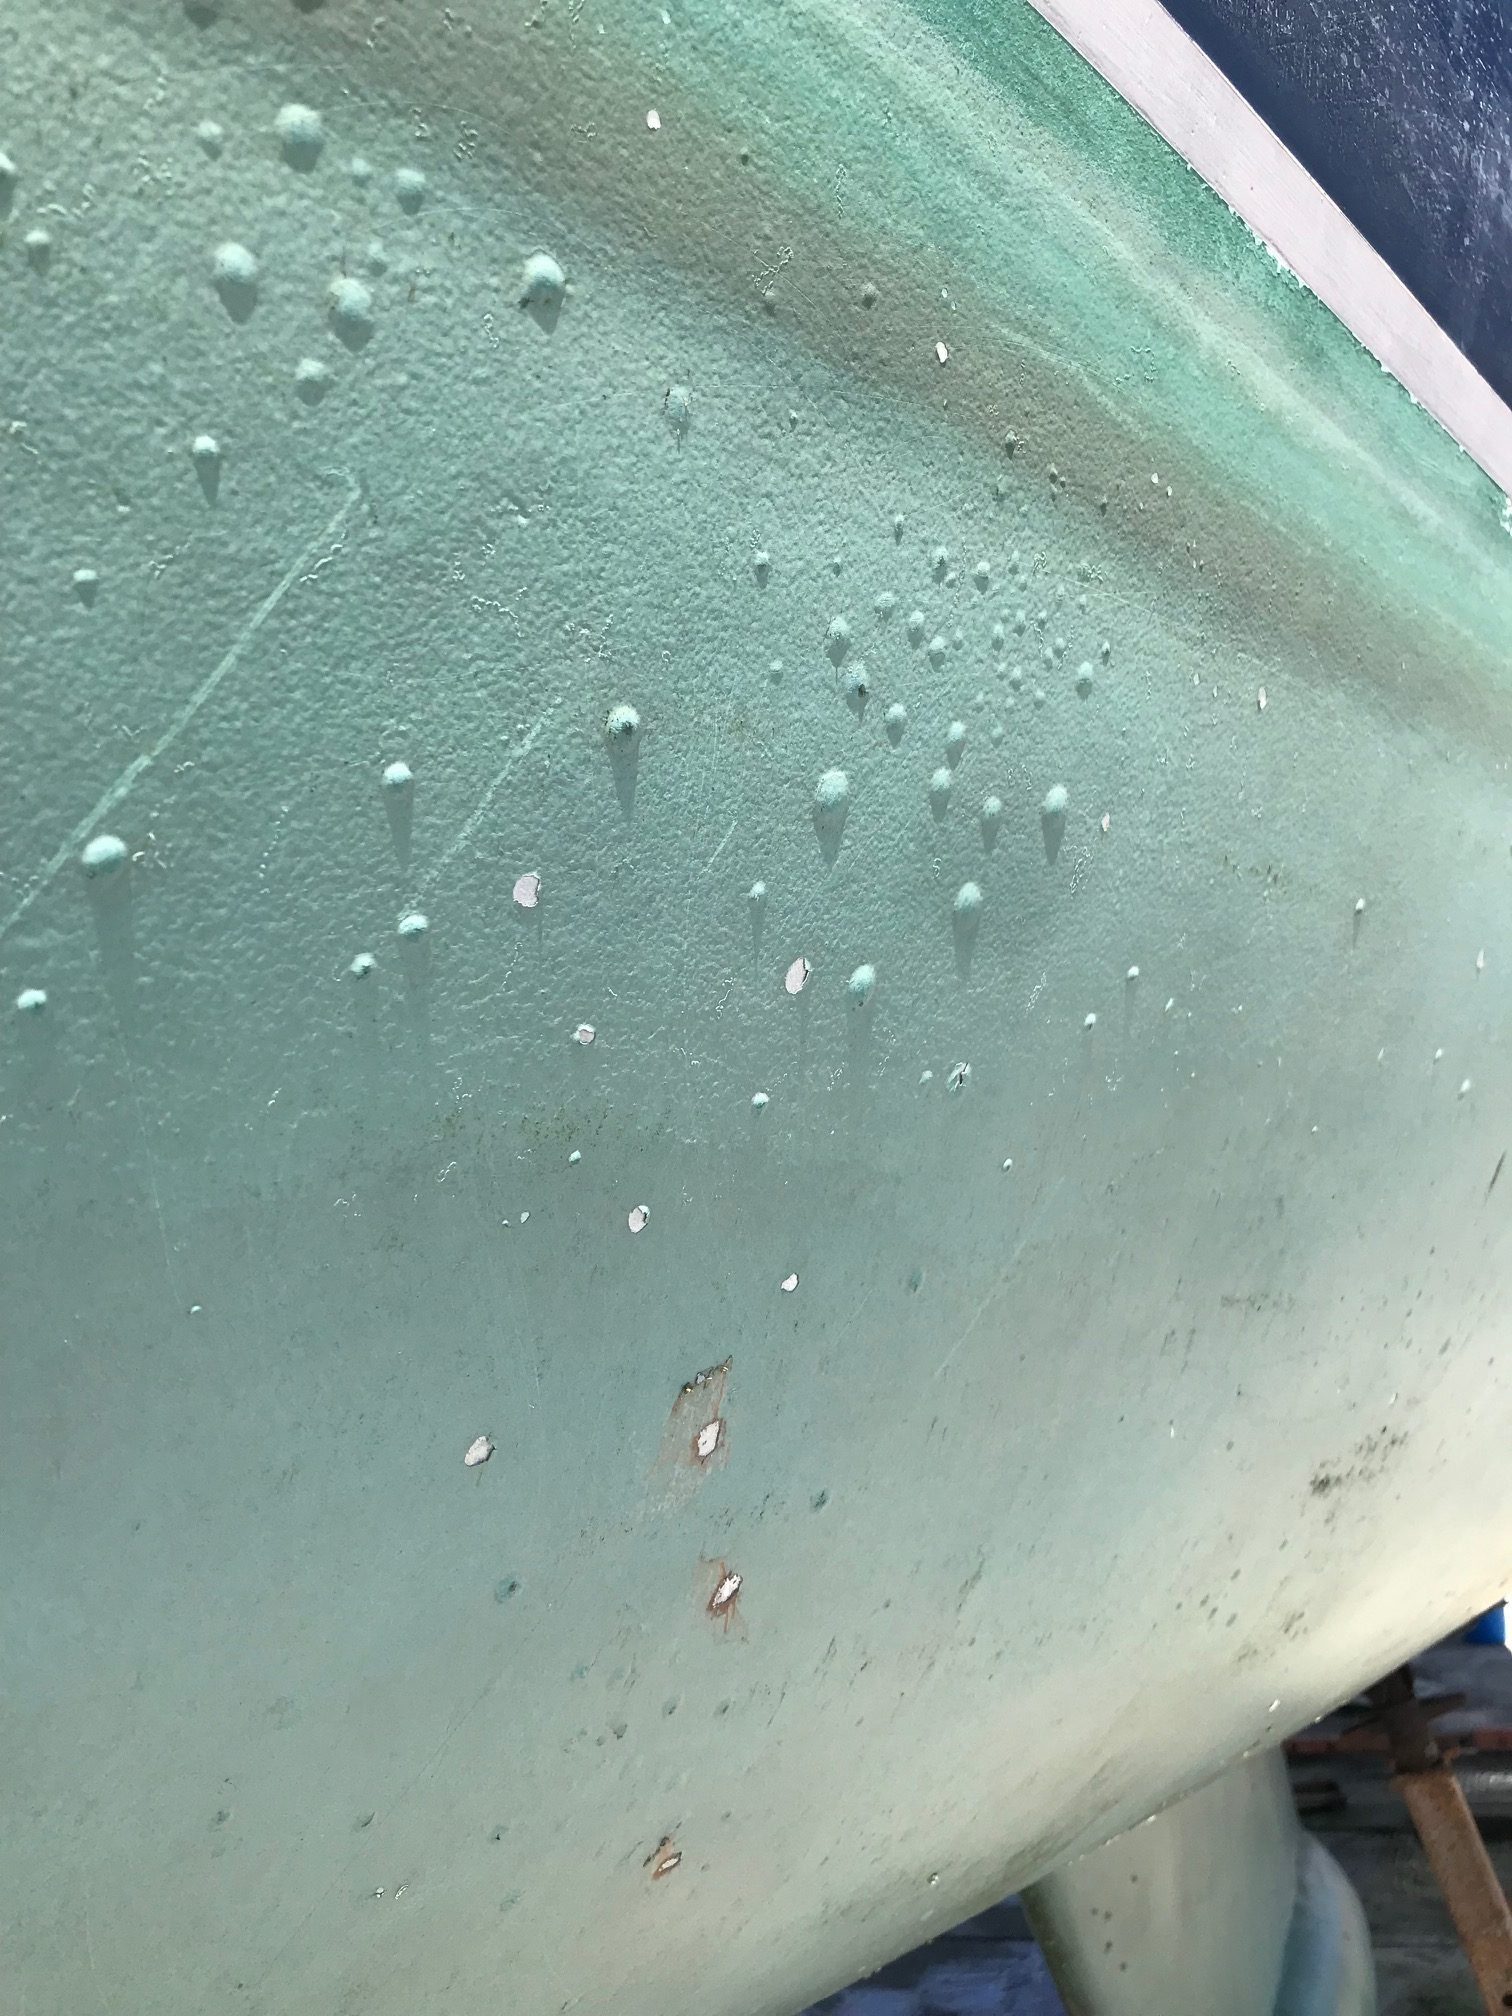
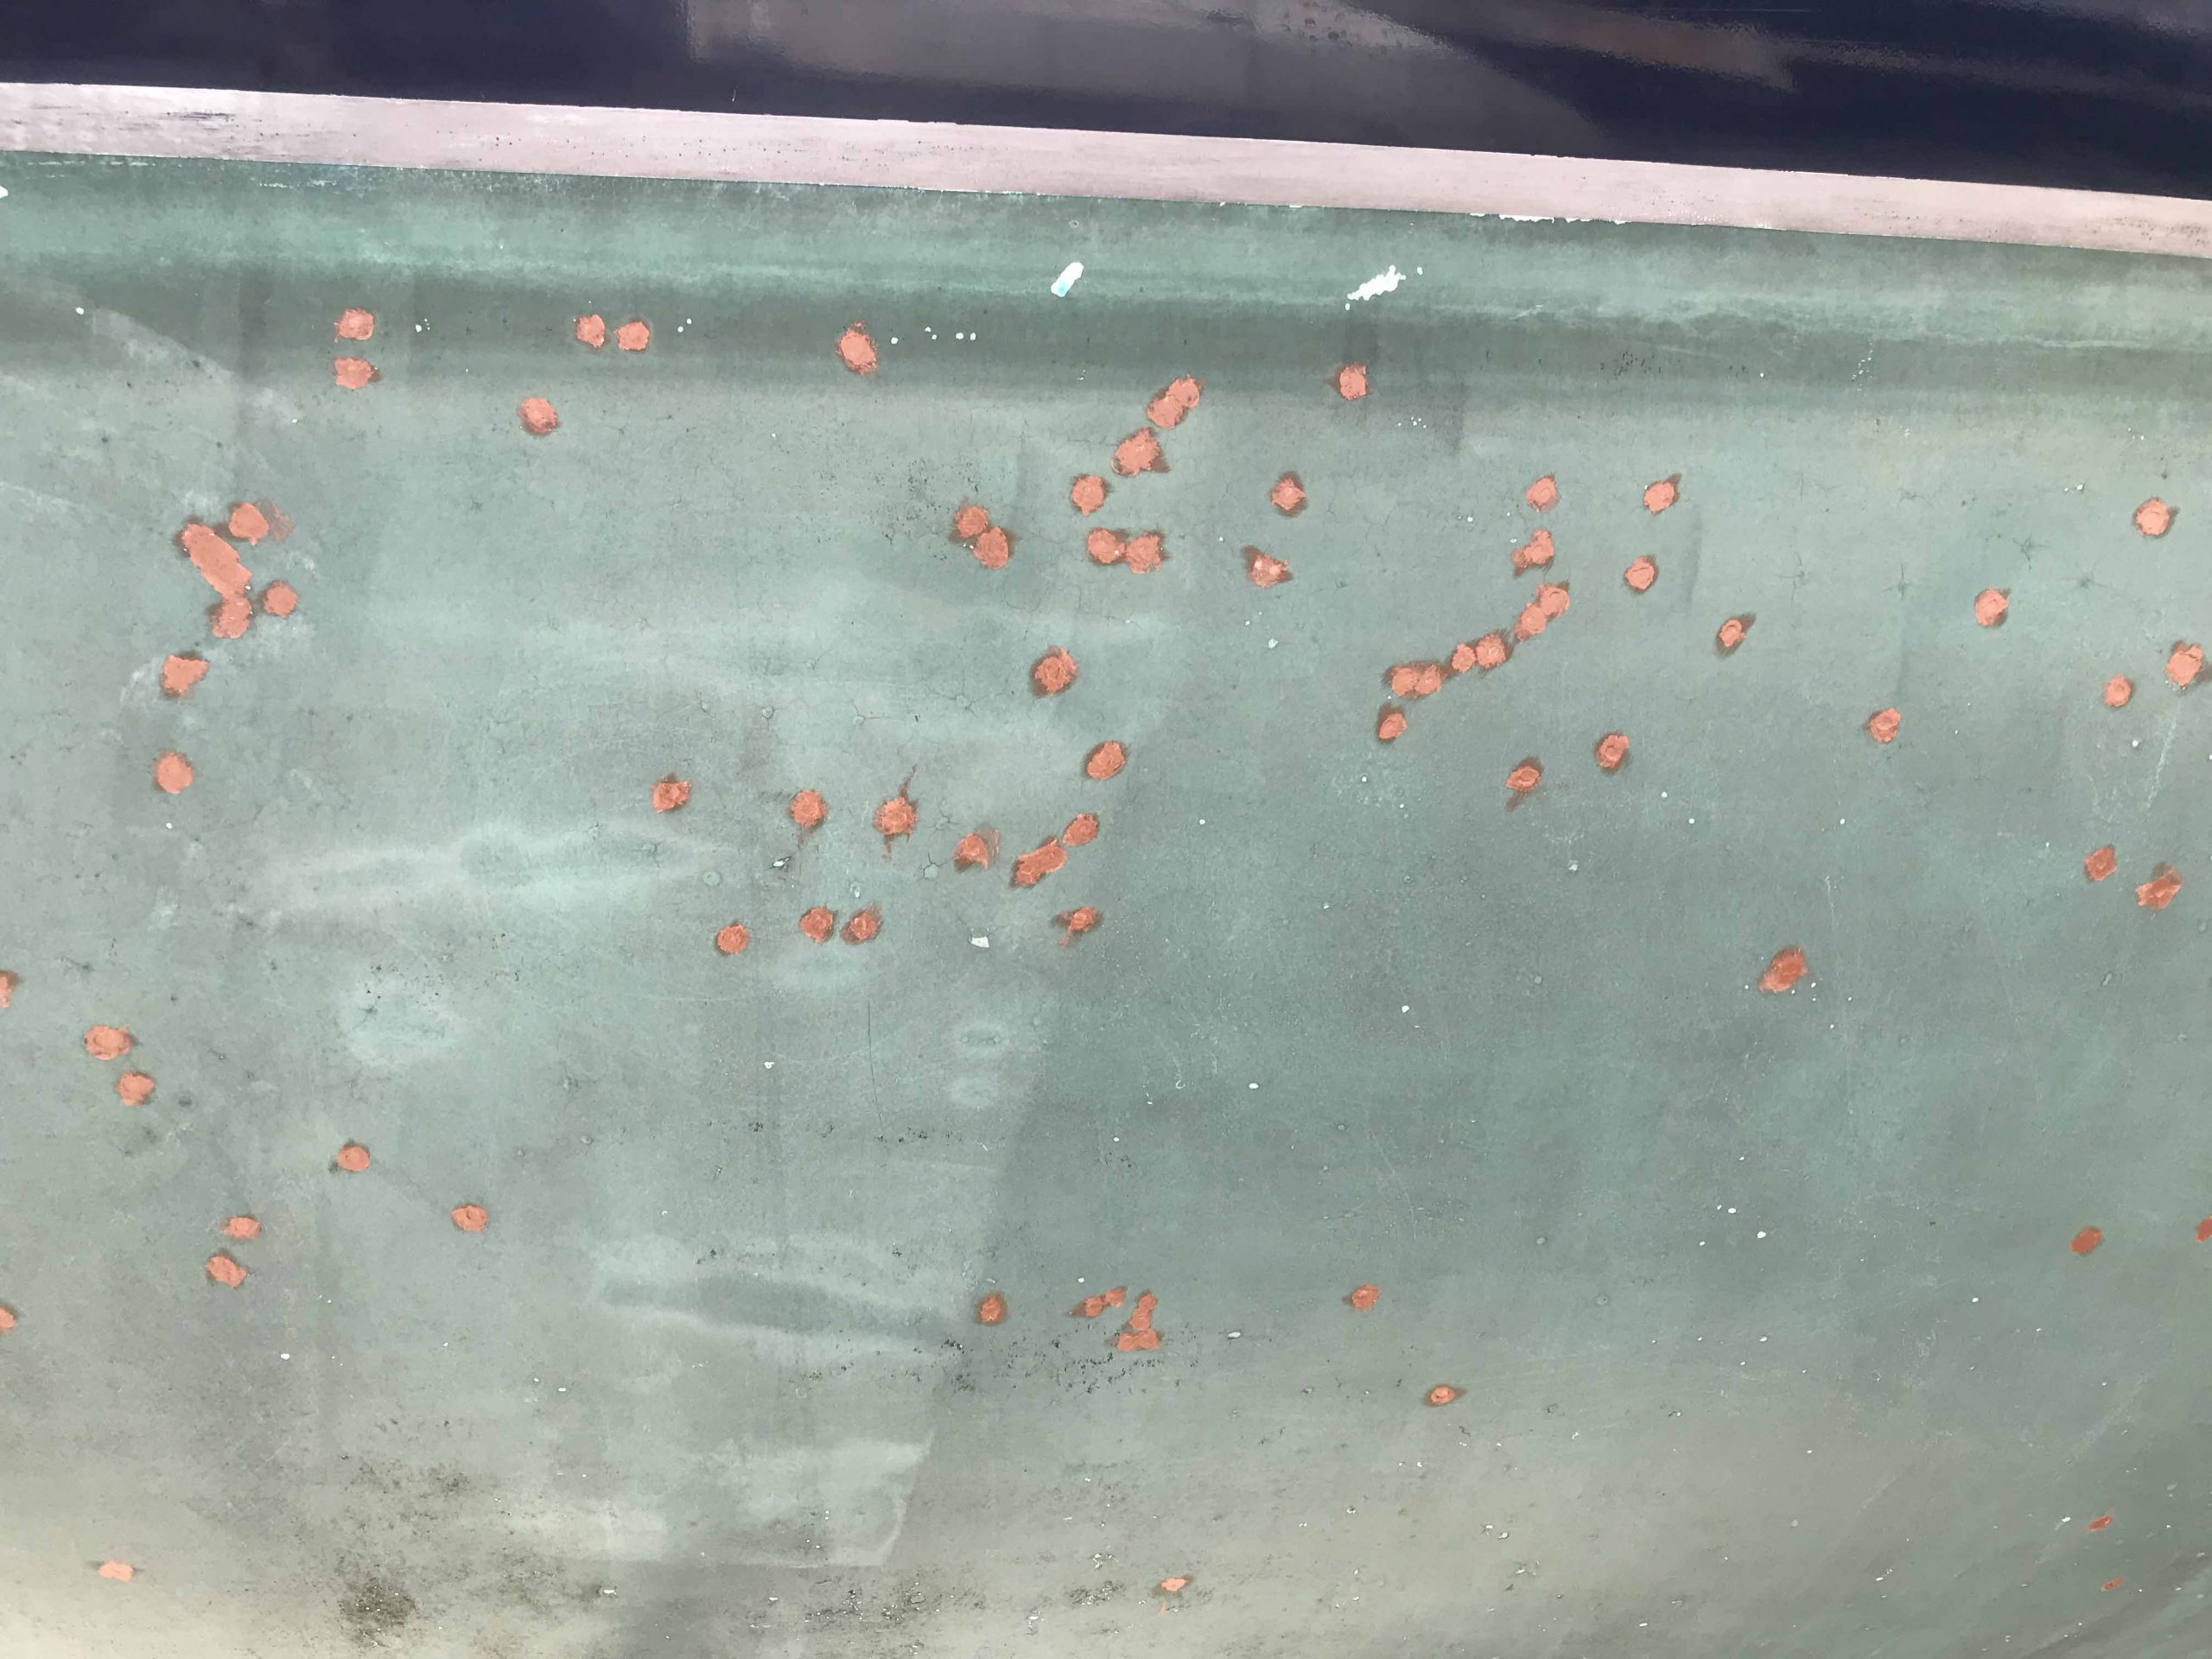
We assessed the state of our hull below the waterline, which was covered in small Pox-like blisters. Initially I thought this might be a Coppercoat (our antifouling regimen) application problem, while Spiros figured the hull was showing early signs of Osmosis. In the end, and in consultation with Coppercoat Ltd., we concluded that the blisters were originating between layers of a barrier coat we had had applied back in 2012… Our treatment decision was to ignore any un-popped blisters and concentrate on only popped ones (only about 500 or so! ☹) by sanding them with the intention of then painting new Coppercoat on the pox when painting the rudder…
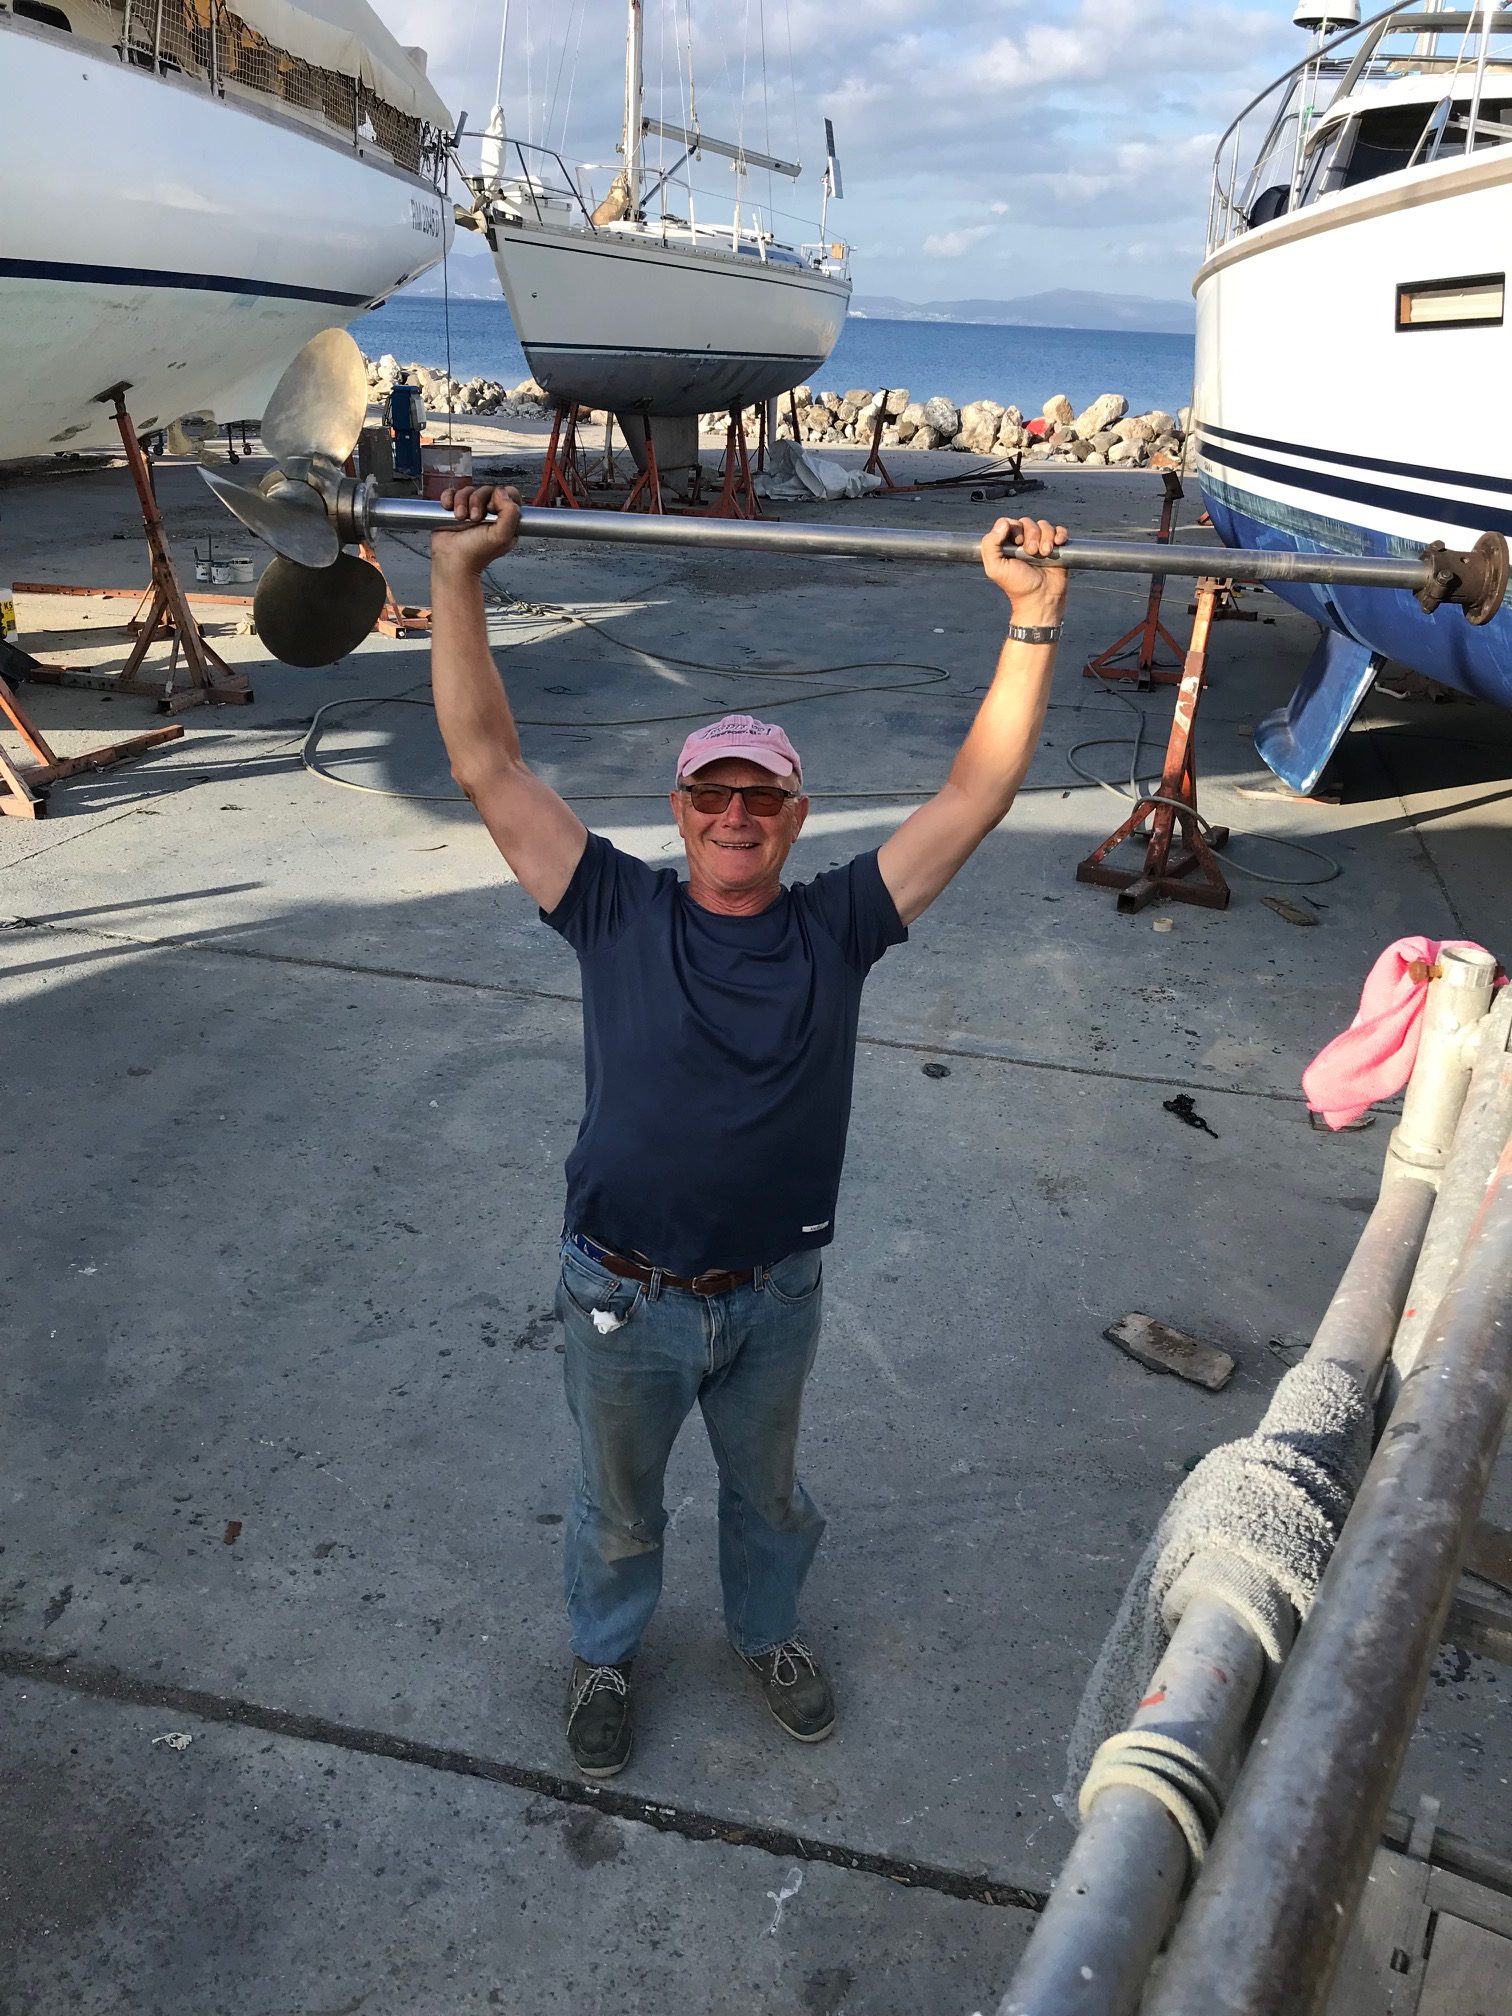
While the rudder was out, the propeller shaft could be removed without having to take the prop off the shaft (something I wasn’t looking forward to). I wanted to remove the shaft in order to replace two critical items – a ‘PSS’ seal that seals around the shaft and prevents the ocean from entering the boat, and the ‘Cutlass’ bearing that supports the propshaft just ahead of the propeller. Both items are wear items and due for replacement. All I needed to do was disconnect the coupling that tied propshaft to gearbox, remove the coupling and the propshaft should slide rearwards out of the boat…
I estimated that it would take me three hours to remove the propshaft… After I’d been pounding on it with my new heavy duty hammer for several hours, I decided to consult the book, and the fantastically helpful group of Outbound owners on our forum. Oh shit! What have I gotten myself into?? The book indicated that the propshaft coupling could be an absolute bear to remove and several Outbound owners had resorted to cutting the propshaft in two and replacing both the shaft and the coupling!!!
I struggled on for two days and finally threw in the towel having only moved the coupler about 1cm with another 5 or 6 to go… I asked Spiros to take a look and he arranged for his engineer to come and remove it. And that’s what he did – using a special puller designed for the job (along with my new big hammer!) and after a couple of hours the coupler was off! Phew! After that, the removal and replacement of the seal and bearing was straightforward thankfully.
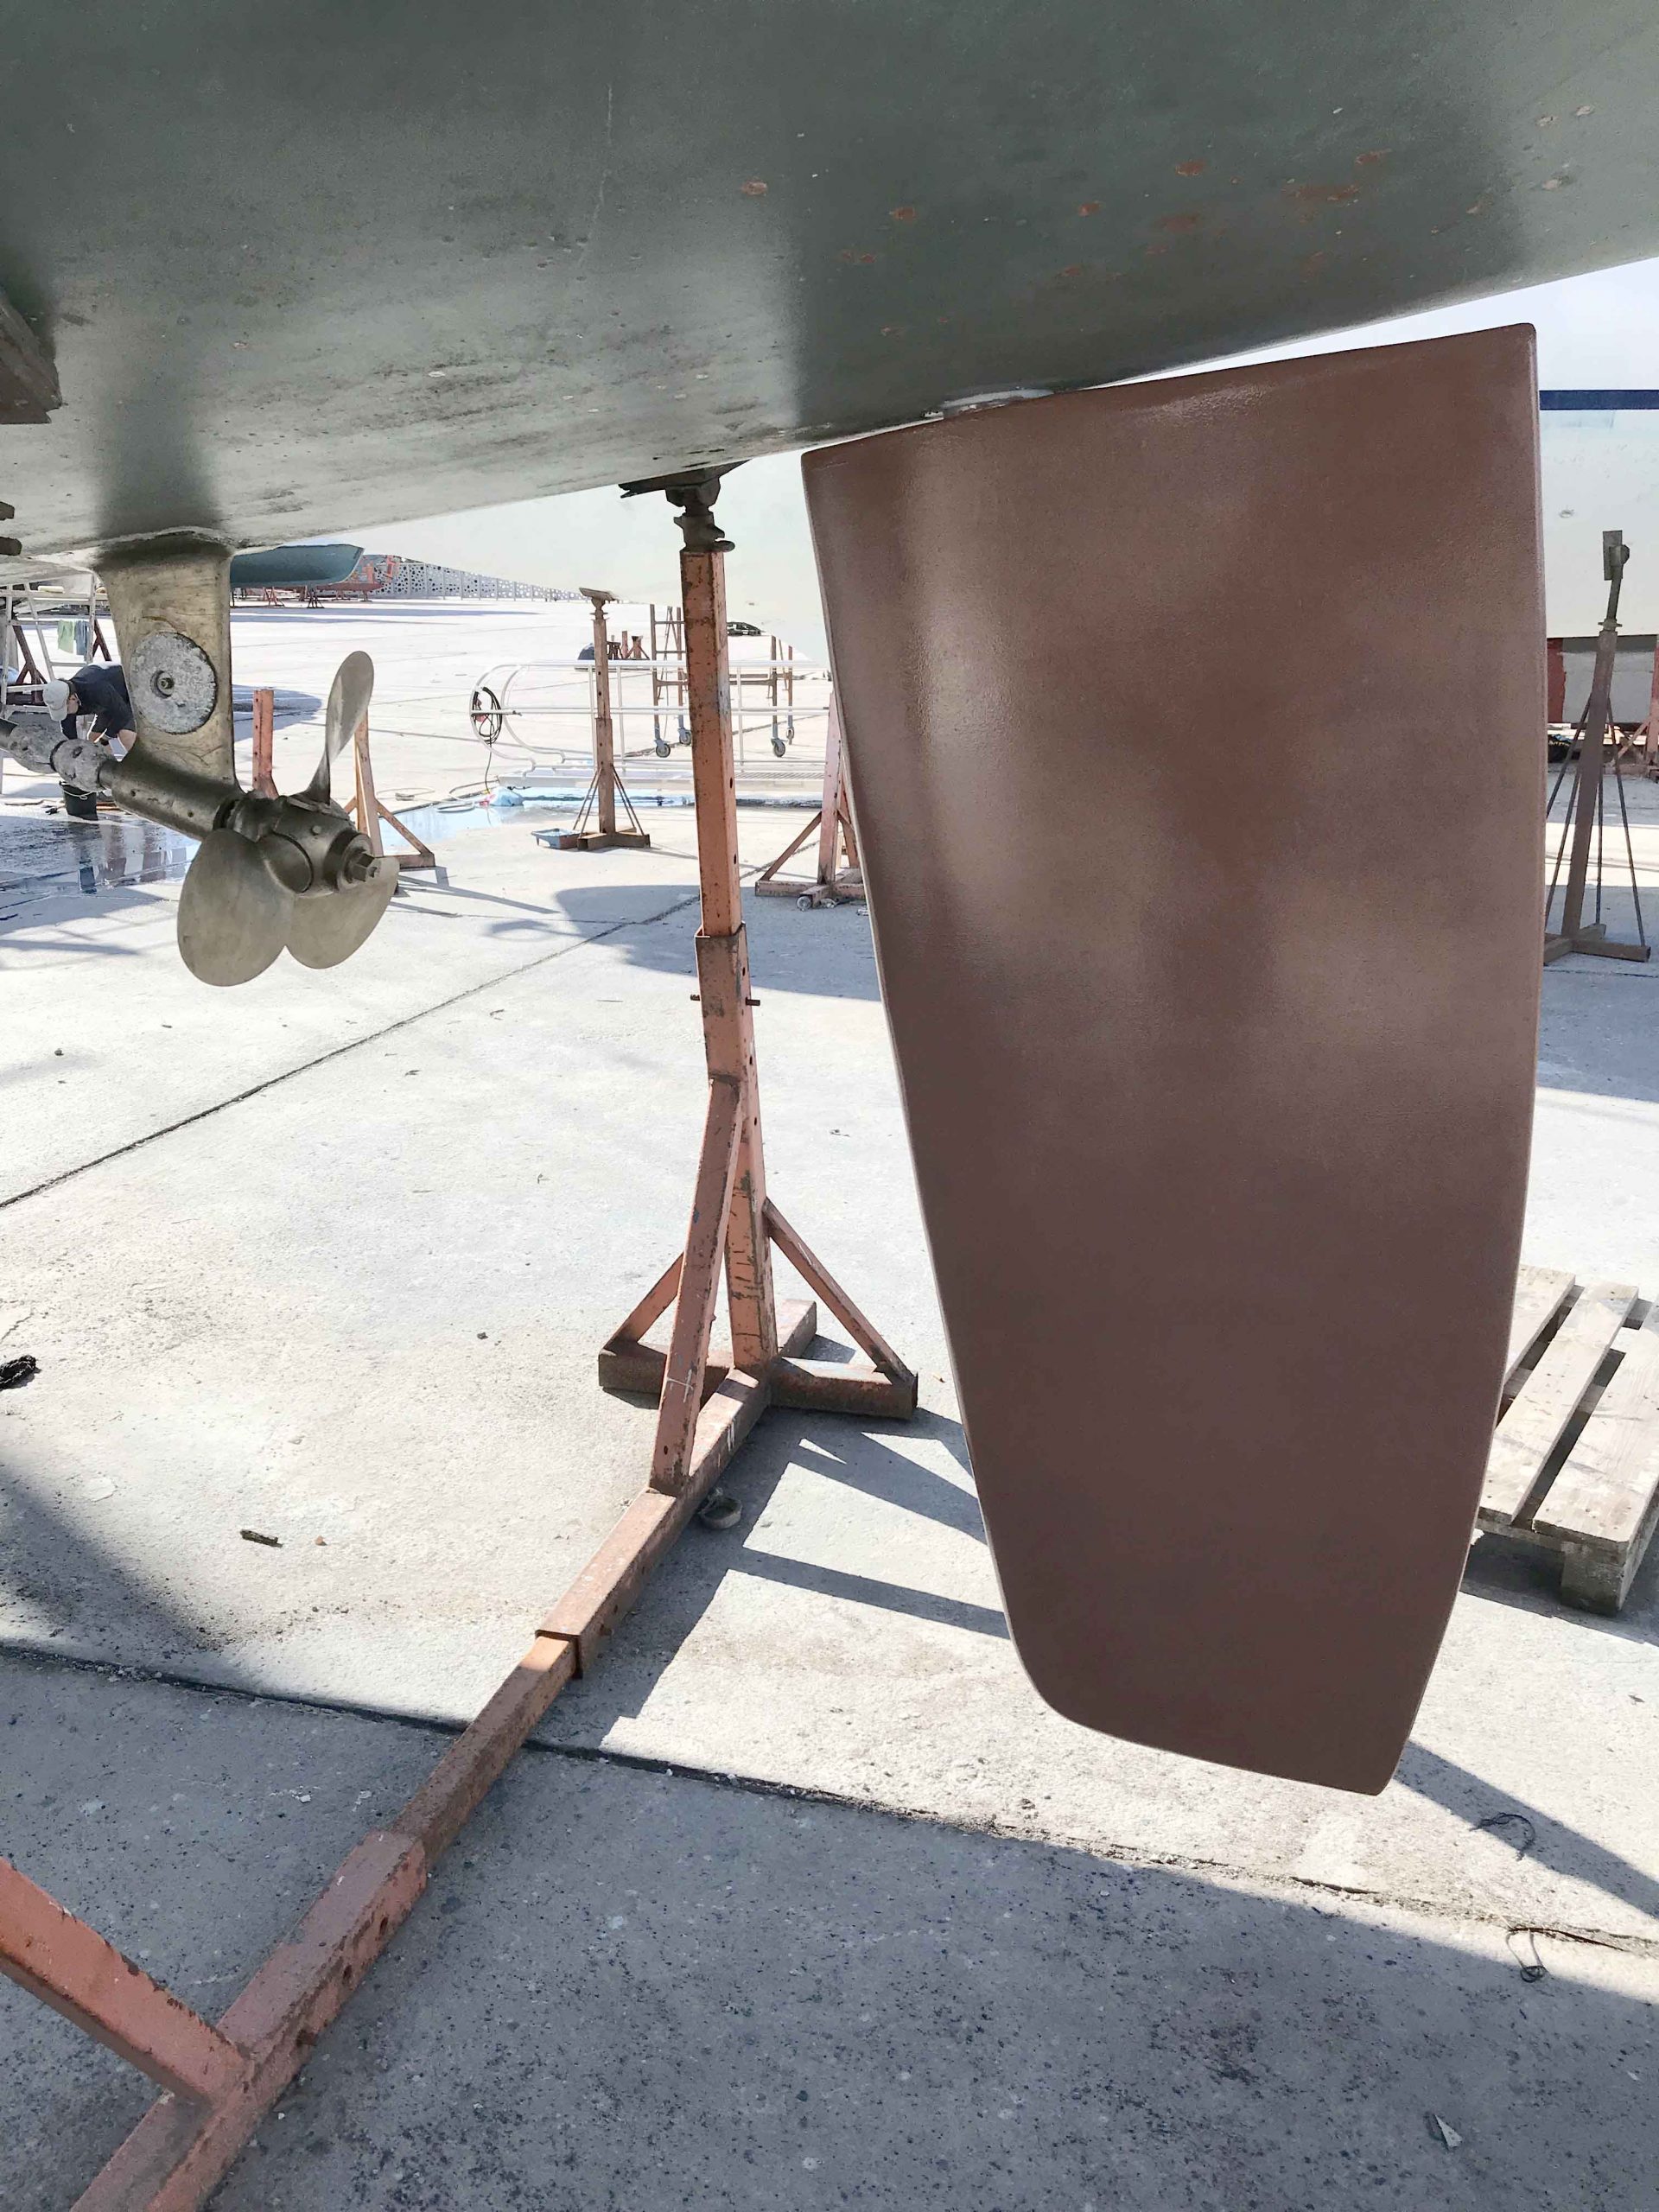
When the rudder came back from the workshop, it immediately looked like the angle of the hole was off – but I thought I had a workaround that would compensate…
Spiros arranged for us to be lifted to install the new rudder – something that should basically take about 30 minutes. It was then that we found out that the rudder was a different shape from the old one – in that the back of the rudder fouled the hull before the shaft was in far enough! We had decided against getting a new rudder made in Turkey on the basis that we were confident Outbound would be able to build a new one accurately and correctly… best laid plans…
The ever-inventive Spiros came up with a relatively quick solution – we’ll cut off a wedge at the top of the rudder to allow for clearance! Since the rudder cost over $9,000 I wasn’t too keen on taking a saw to it – but couldn’t see another way – so off it went for the chop! They did a quick job of it – cutting through the solid fiberglass and the fairing and covering with a couple of layers of GRP. The following day they lifted us again and the installation was successful! Phew!
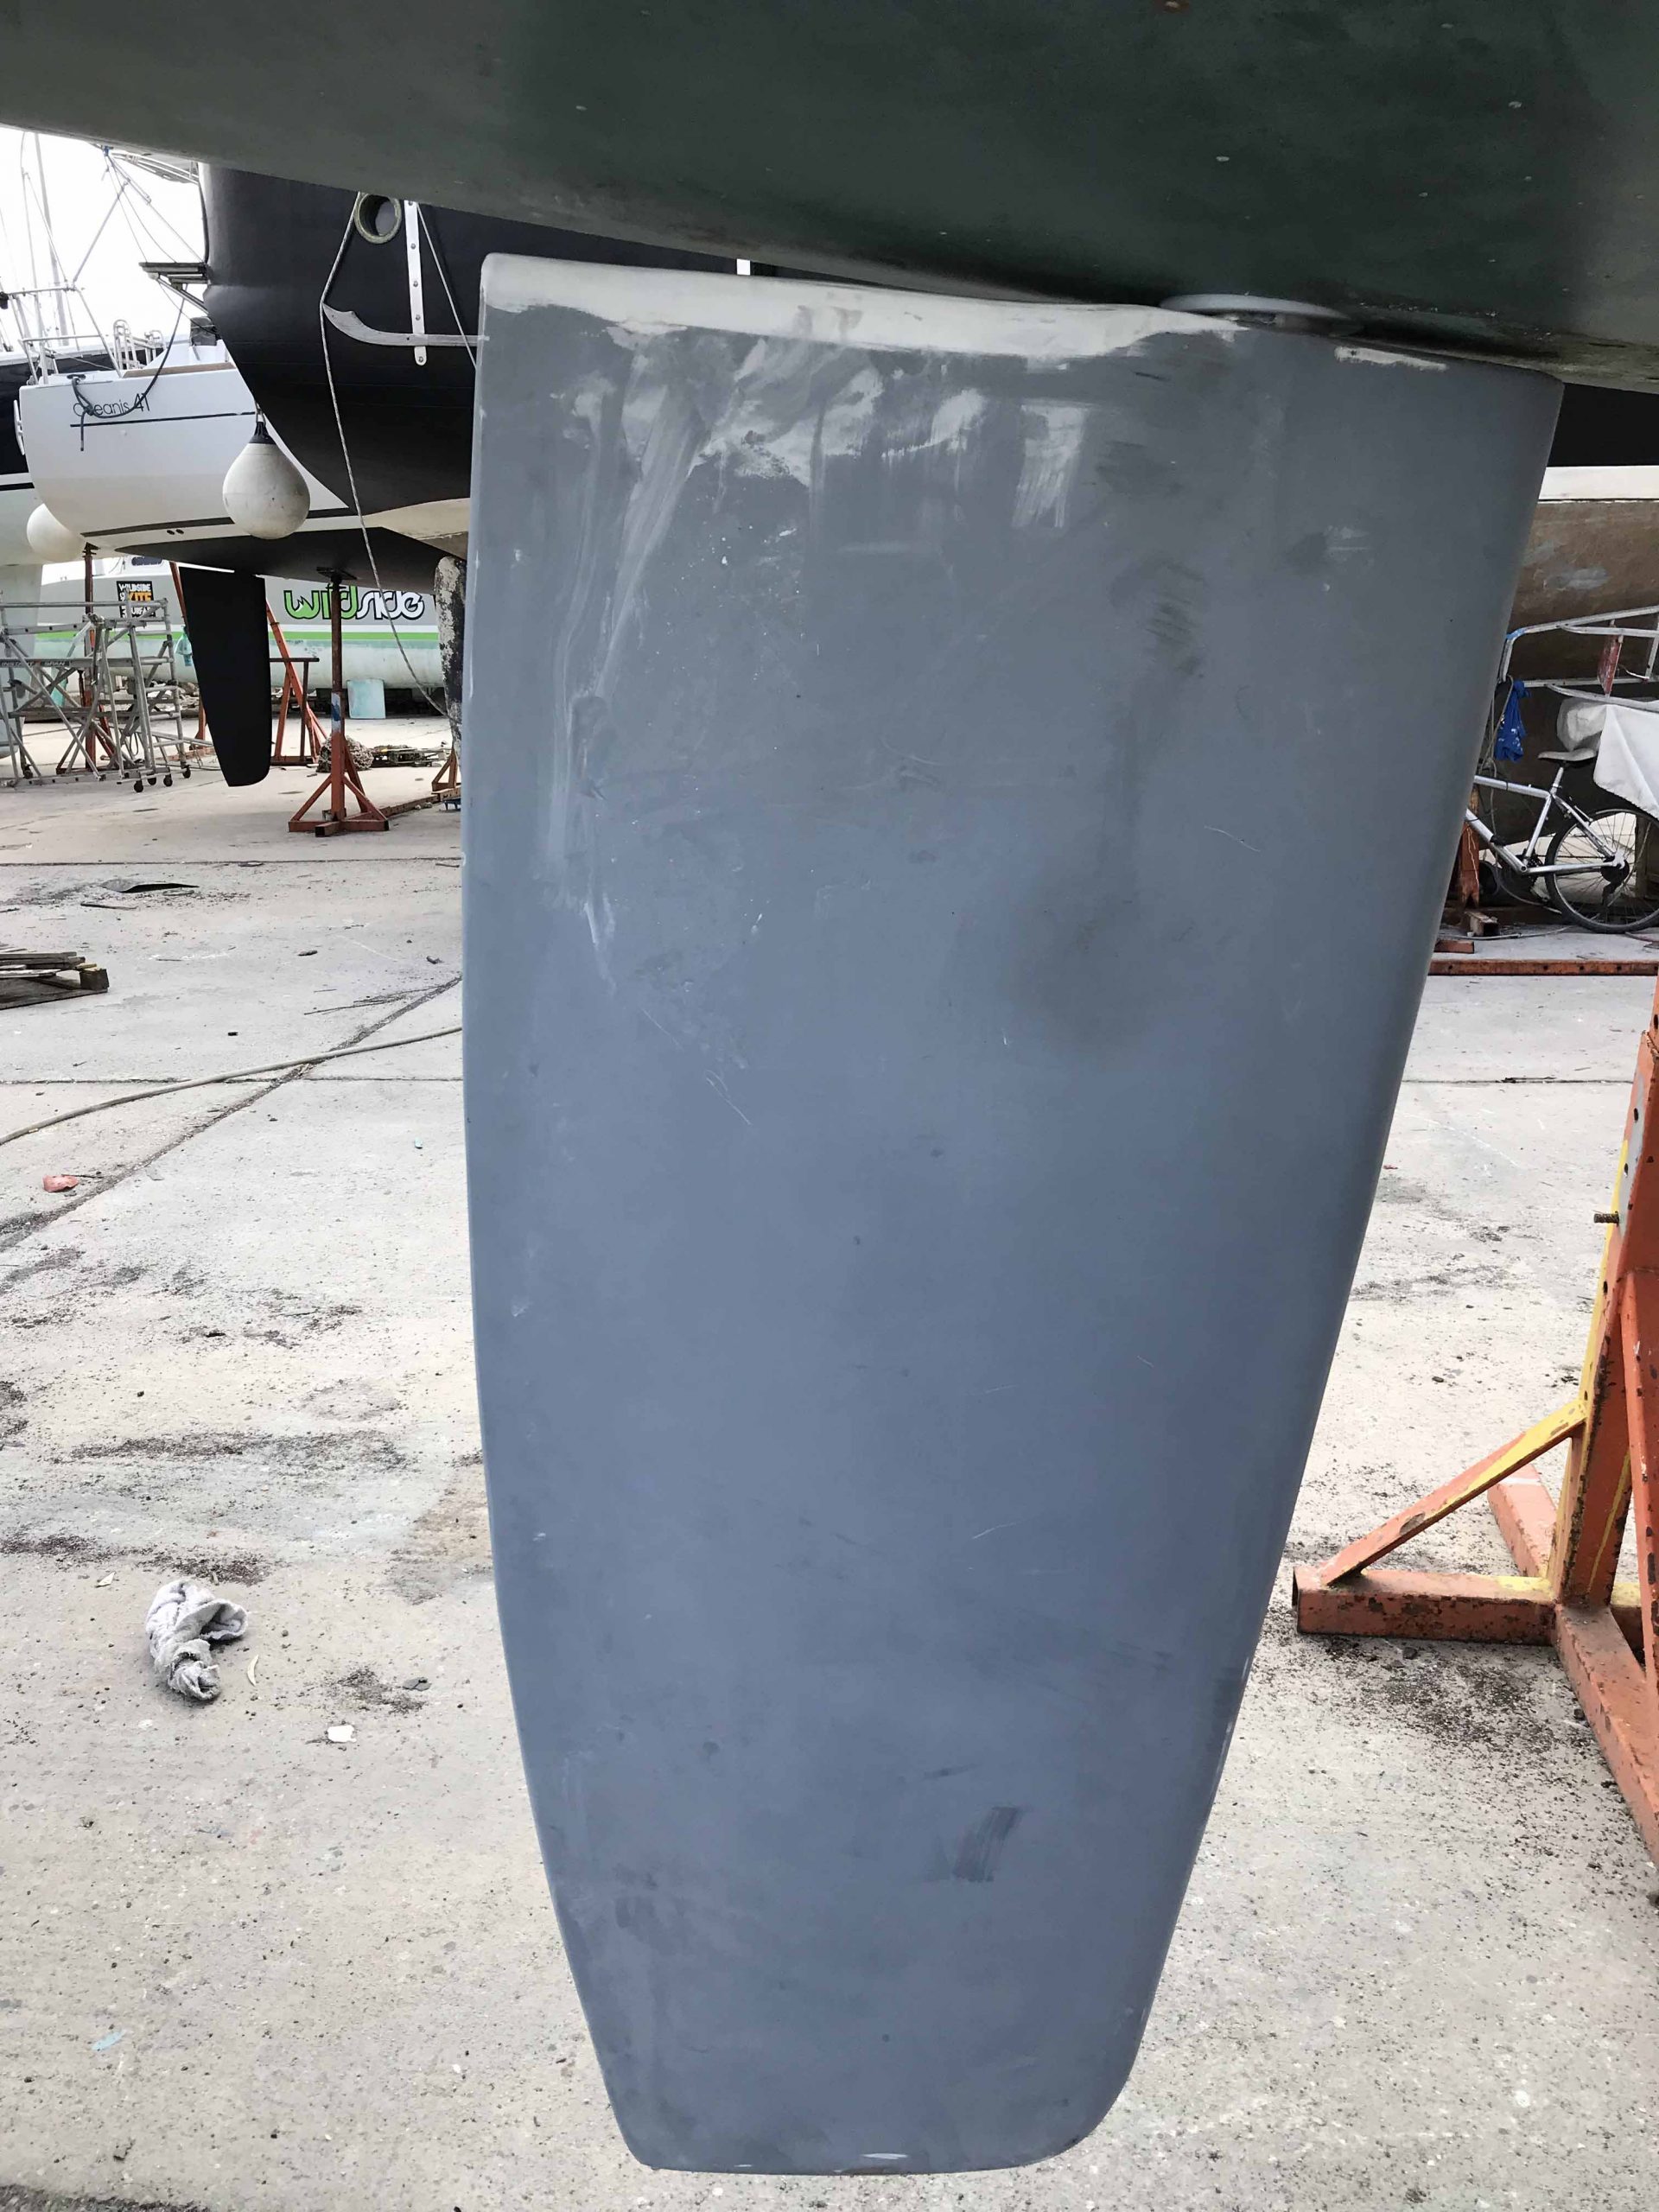
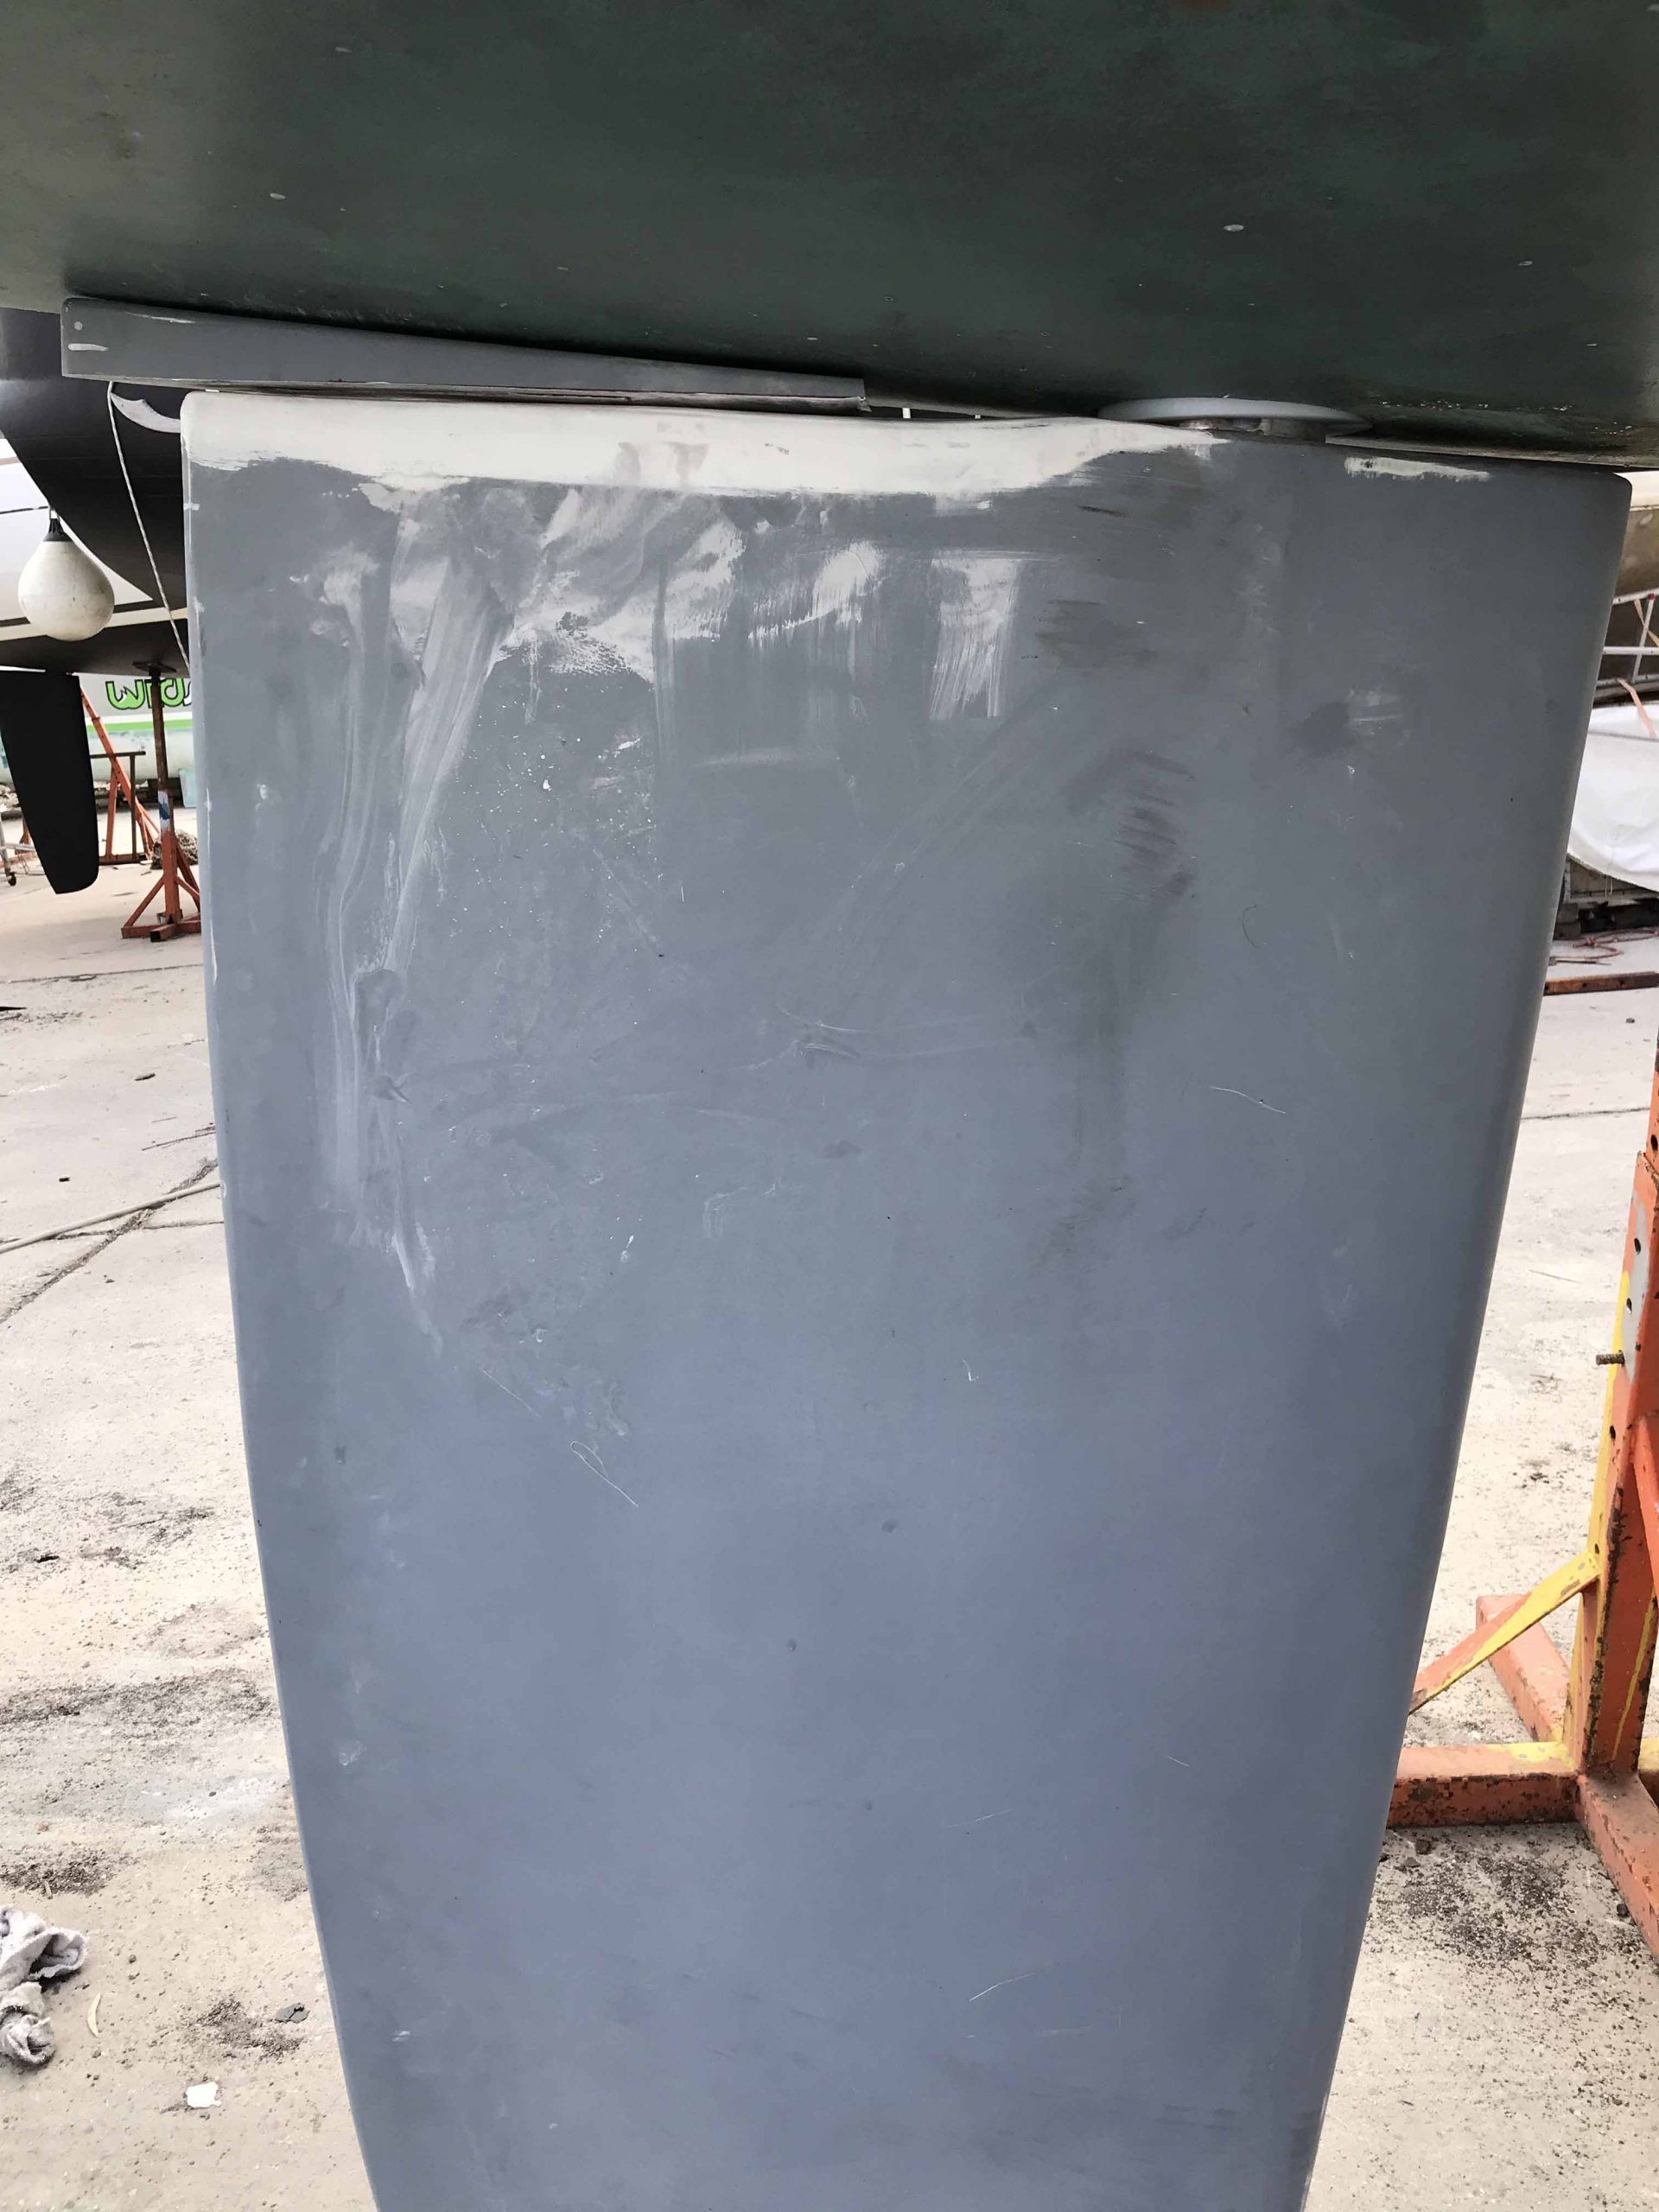
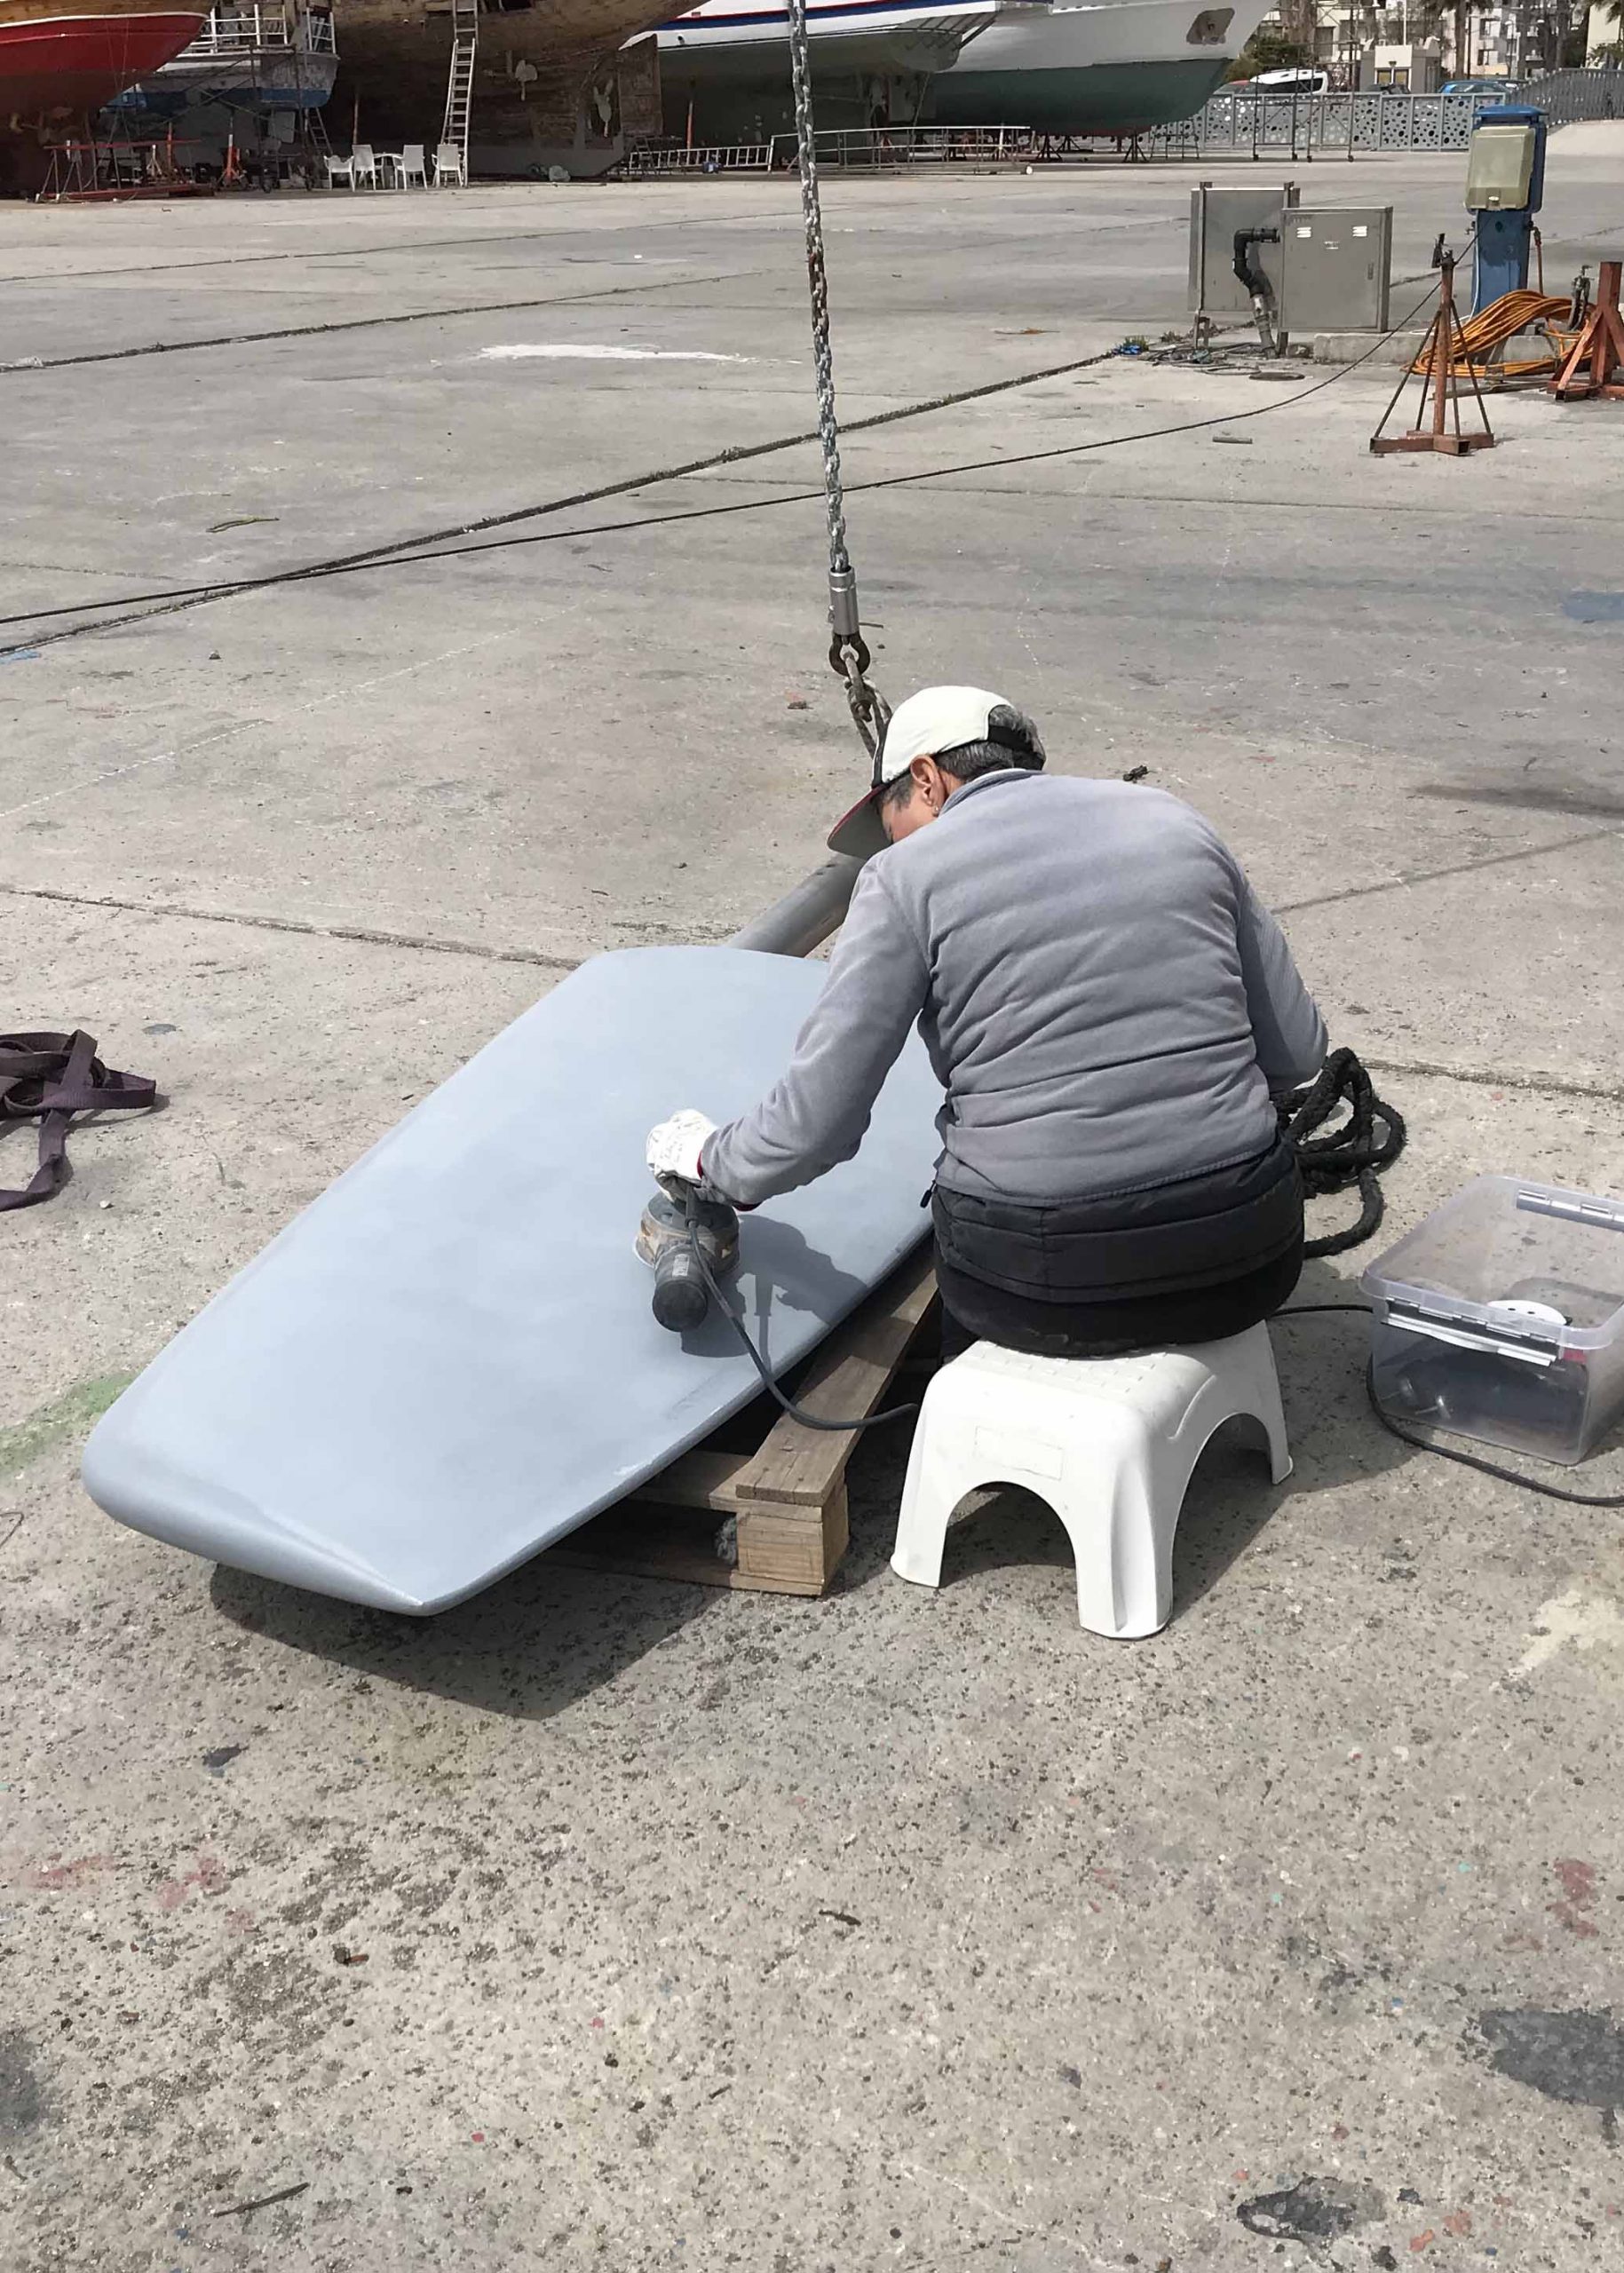
With the rudder now installed we could set about painting the Coppercoat to rudder and the hull pox. In the end the process went well. We’ll see how effective the painting of the pox was in due time.
While out of the water we arranged for a surveyor to review the rudder repair – and took advantage by arranging for a full boat survey (which we had to get done for our insurance company). The surveyor came and was interested in both the rudder replacement and the blistering hull. It was while he was studying the rudder that we realized that the rudder turned far less to starboard than it did to port. This can only have been caused by the hole being drilled at the wrong angle. I thought I had a workaround – but quickly realized that I was mistaken and we did indeed have a problem. (What else can go wrong?)
Consultation with the Outbound owners group – and indeed the former owner of Outbound Yachts – concluded that the remedy lay in removing the stops that prevented the rudder from over-travelling to port or starboard and having them altered to facilitate equal swing to port and starboard.
The following morning we arranged to meet with the surveyor and Spiros that afternoon to discuss the rudder remedy. Spiros quickly concluded that we should alter the rudder stops! The surveyor concurred and within two or three hours, including two trips to the workshop, Spiros had the stops modified and replaced. The remedy worked – equal throw to port and starboard. We could splash in the morning!
After splashing, a quick test on the way to our slip revealed a nice smooth and even rudder operation and no vibration from the propshaft – the effort was worthwhile! A formal sea trial the following morning confirmed all is well.
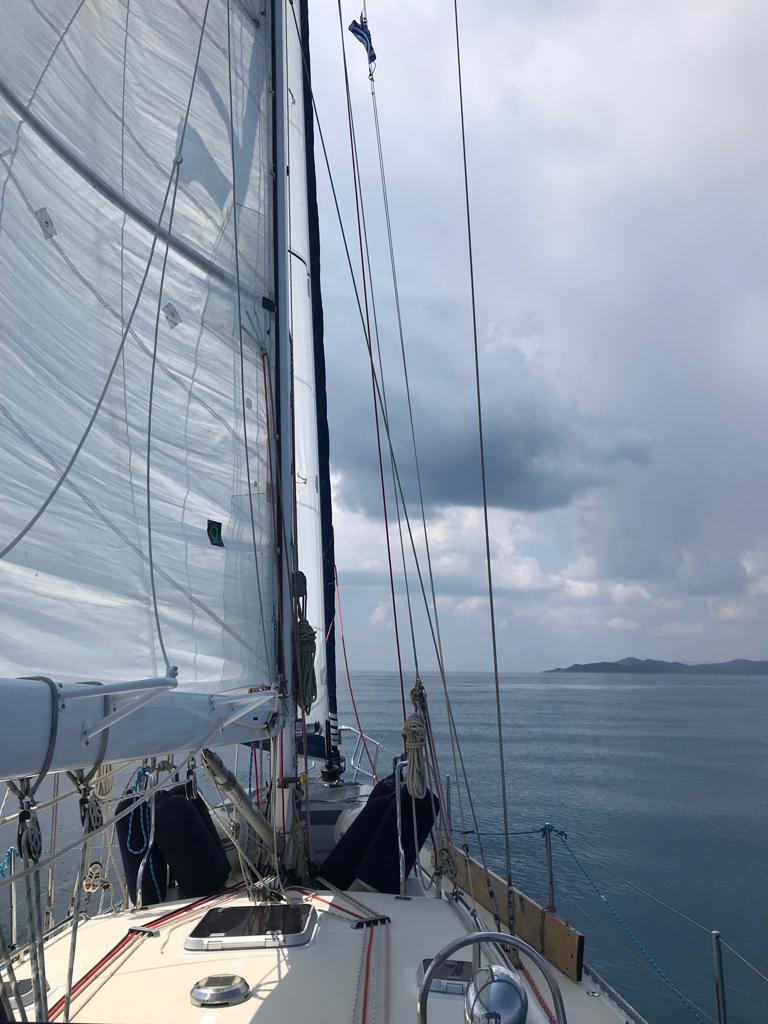
Kalimnos here we come!